Travel photography is a perennial favourite among many photographers. The promise of seeing the world and its multi-faceted subjects is reason enough for shutterbugs to ditch the comfort of their homes to travel forth and bring back exotic images. So why is it that many of us cringe when asked to sit through a slide show of a friend’s latest travel adventures?
We all had bad experiences of being compelled to view bad travel photography while giving courteous smiles and nods of our heads. Bad photos? Boring images? Probably all that and more! We may not be National Geographic photographers, but certainly we can be all capable of capturing better travel photography with some simple tips!
Equipment
Less is more - it can be tiring to bring too much equipment on your trips. The ability to lug heavy loads vary from photographer to photographer, but in general the advice to bring less gear to reduce fatigue holds true. Avoid bringing gear that you think you might use, and distill down to your essential equipment only. If you are still unsure if you can carry the load, simply pack your bags and head out for a day of shooting to see if you are comfortable with the weight. Whatever seems light at home will probably double in weight in the field!
Plan according to your destination. Research pays off when planning for your gear. If online sources and guide books tell you to expect great landscapes and scenics, you might like to bring along wide-angle lenses and ditch that super long telephoto at home. Or if you know that the destination is a tropical rainforest, pack more waterproof bags and bring along flash equipment to deal with the low lighting levels in the undergrowth. Research helps you bring the right gear and reduce unnecessary weight.
Bring more batteries and cards. It is a terrible feeling to restrict your shooting just because you are low on power or storage capacity. If you have friends using the same batteries, loan the batteries from them before the trip (you can return the favour in future when they go on their travels). Memory cards are pretty affordable now – get a couple more cards than you might need. There are a lot of things that can go wrong with memory cards, so pack some spares.
Download to a hard disk/notebook if possible. It helps to download your images daily to free up your memory cards, or to act as a backup storage. Although it adds on to the weight, I like to have a notebook computer with me to download and view the images every night, as it is useful to check the images to spot any potential problems with the gear along the trip, rather than discovering the problem when you return after a 14-day trip from a exotic place!
Zoom lenses or primes? My personal preference goes towards zoom lenses for their versatility – I can capture photo opportunities faster and better with a range of focal lengths in a zoom. Prime lenses offer the largest maximum aperture, but I am willing to trade a smaller maximum aperture to capture photo opportunities more fluidly with a zoom lens.
Bring spare equipment if you are really serious about your photography. I usually pack a spare body and lens, kept in the hotel safe deposit, in case my camera or lens conks out on me during the trip. You can also substitute with a compact camera – something is better than nothing.
DSLR, Micro Four-Third or compact camera? Both DSLR and Micro Four-Third cameras can capture great images, although the DSLR still has an edge on image quality by virtue of its larger sensor. With a good range of lenses and fast focusing speed and short shutter lag, I do not have qualms bringing either of them for a trip. Compact cameras in general have small sensors, slower focusing and suffer from shutter lag. While they are suitable for certain situations, I will still avoid using a compact camera as the sole camera for a trip.
What’s in my camera bag
Unless the trip has special requirements (like a safari trip), I usually pack the following focal lengths to deal with general situations. I use full frame DSLRs, so if you are using APS-sensor cameras, you may need to vary your own focal length to adjust for the different sensor size.
- DSLR mounted with mid-range zoom (24-105mm) for general street scenes
- Tele-photo zoom (70-200mm) for distant action
- Spare batteries and memory cards
I like to travel very light, and that is my preferred combination, but your own mileage may vary so choose whatever works for you. I prefer to use f/4 zoom lenses instead of the heavier f/2.8 variants, and I will leave spare equipment in the hotel safe deposit unless I know I need them for the day. So what’s left behind in the hotel?
- Spare DSLR body
- Ultra wide-angle zoom (16-35mm) for landscape/interior
- Fisheye lens
- Flash
- Tripod
I try to keep my bag light and empty, in case I spot something I’d like to buy along the way as a souvenir. And I usually bring my passport along with me in case of emergencies, and for tax rebate purposes for purchases in some countries like Japan.
Packing
NEVER check in your camera/lenses. Luggage handlers are known to be really rough with your bags, and there is a chance your luggage may not arrive with you. Always carry on your gear, especially cameras, lenses and flash. You may check in your non-critical accessories (excluding memory cards and batteries – you need them!) in your luggage if you can’t carry on everything.
Keep your equipment with you at all times. Some countries are more risky when it comes to your personal belongings, so always keep an eye out for your gear. Keep your bag in sight literally, and never leave it hanging off the chair behind you or at your feet. Loop the bag strap around your feet or the chair for added security.
Pack for the country you’re traveling. Be aware of the climatic conditions and prepare your gear accordingly. Sand, dust and water are your gears’ greatest enemies – so be sure to keep your equipment safe from the elements.
Bring power adapters and spare cables. Don’t assume that your hotel or accommodation will have the necessary adaptors or cables. Bring your own adaptors and cables – or even better, bring spares! Your gear is useless without power.
Health concerns, risks and medication. Check out the health risks at the destination before you fly. Check with your family doctor to see if you should be even traveling to the country. You might have to take malaria pills or high-altitude pills for certain places, so prepare your medication at least a month before hand.
Do you need visas and permits? Always check carefully if you need visas and permits to enter the country, and leave enough time for the embassies or authorities to approve the papers. Also be aware of the restrictions of the visa or permits, such as the scope of travel or the duration of the tour.
Lighting
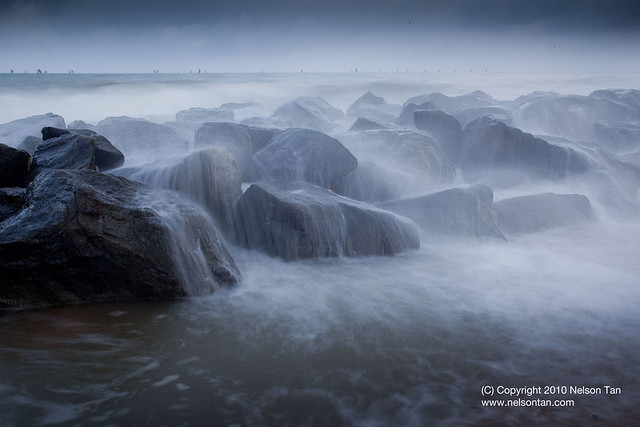
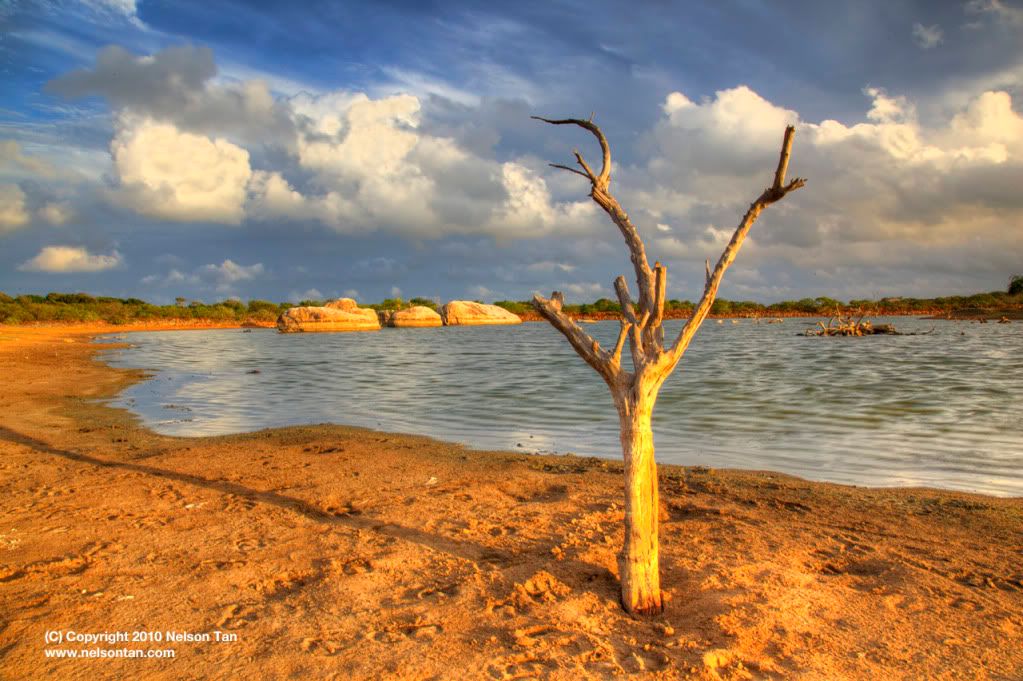
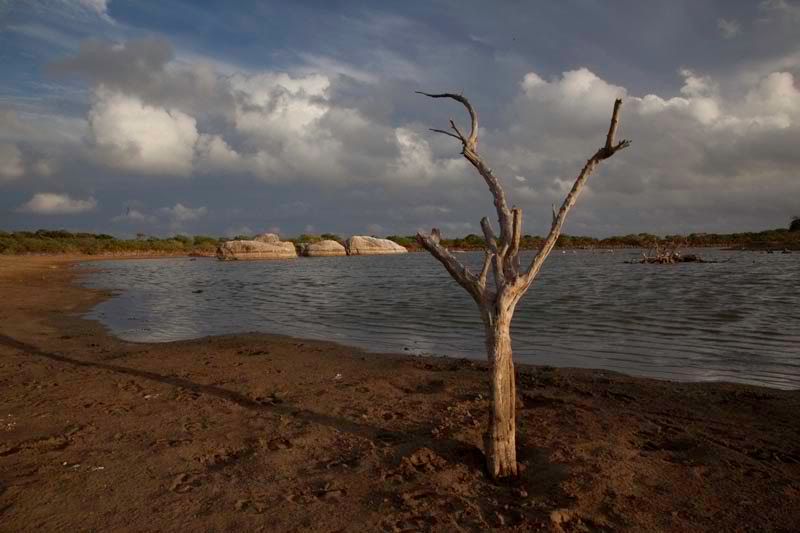
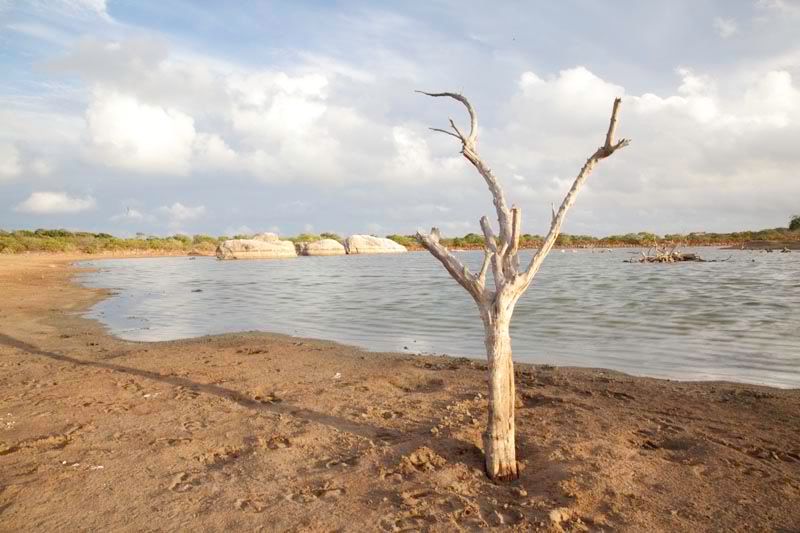
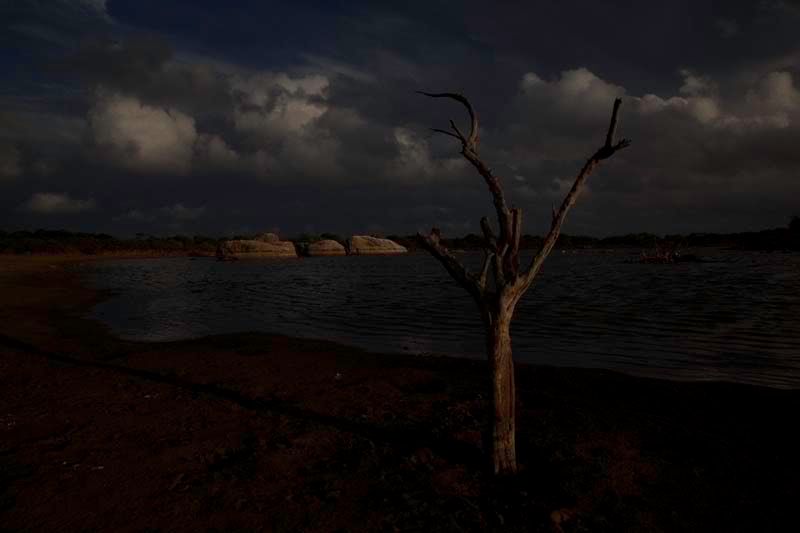
Beautiful lighting is unusual lighting. The most photogenic lighting takes place in the early or late hours of the day, or in the most unlikely places. It is a classic scenario where less is more – beautiful lighting occurs less frequently and in lesser amount. So wake up early to catch the first light, and stay around longer when others have packed (assuming it’s safe to do so!).
Never stop observing or shooting – take note of the lighting conditions and see the results on your images. Analyze what makes the lighting work, and the conditions for it to happen. It may be a burst of sunlight streaming through the leaves, or a ray of sunlight reflecting off a window. A famous photographer once said that there is no right subject, it’s just finding the perfect lighting.
Editing
Editing your sequence is an important skill, but it has been delegated way below Photoshop editing skills unfortunately! Travel photography involves telling a story about the place using a series of photos, and being able to edit your sequence can make or break your travel photos.
Be critical of what you show others. Editing involves the selection of the right images, the right quantity and the right order. Toss out the technically bad and meaningless photos, followed by the mediocre images and so on. Learn to edit your images ruthlessly, and do not let your emotions during the moment of photo taking affect your judgement. Even if you have spent much effort capturing the shot, if it does not look good or fit into the story, out it goes. Find a good photographer friend to help you toss out images if you are unable to remain neutral.
Arrange the images in a sequence that tells a story. You can arrange by chronological order or by your trip itinerary, but it should be flow well as a story. Imagine yourself giving a narrative for the slideshow – does it flow well or does it sound like a jumbled up story?
Keep your story short but compelling. It is better to leave the audience hankering for more, rather than wishing the slideshow to end sooner. Audiences have short attention spans, so any slideshow sequence longer than five minutes is really stretching it! I personally like to keep it under five minutes, with less than fifty images in total lasting five seconds or less each on the screen.
Use music to accompany your slideshow to liven up the presentation – it can be remarkably awkward viewing images in silence, especially if you have nothing interesting to narrate about your images along the way. Choose a piece that fits the mood and theme of your slideshow. I like using iPhoto on a Mac to do up my slideshows, and you can find your own favourite software to do the same.
The sense of place
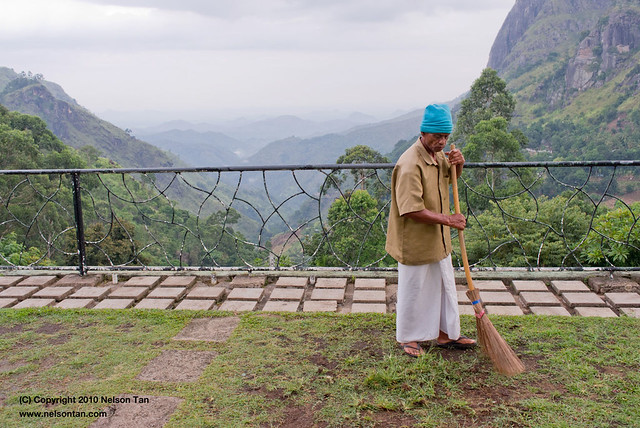
What makes this place unique from the rest? That should be the question that your images aim to answer. Good travel photography provides the viewer with a sense of place, telling them the unique characteristics about the place and its people. But how do you capture the sense of place?
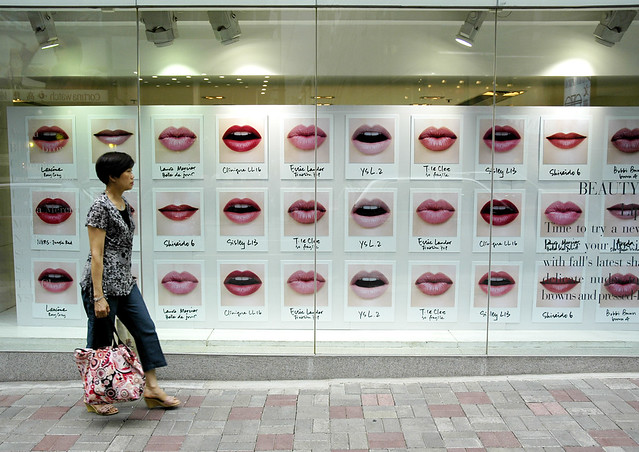
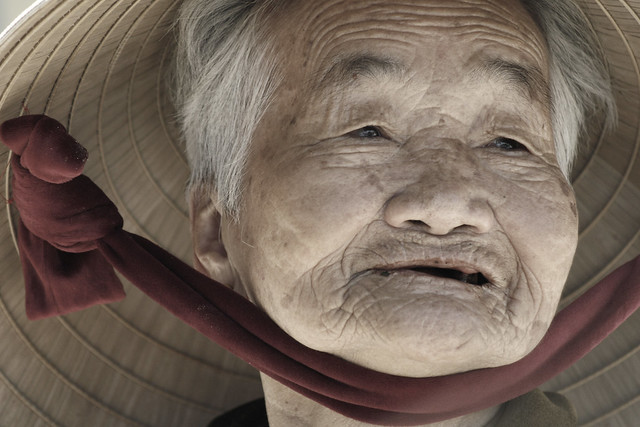
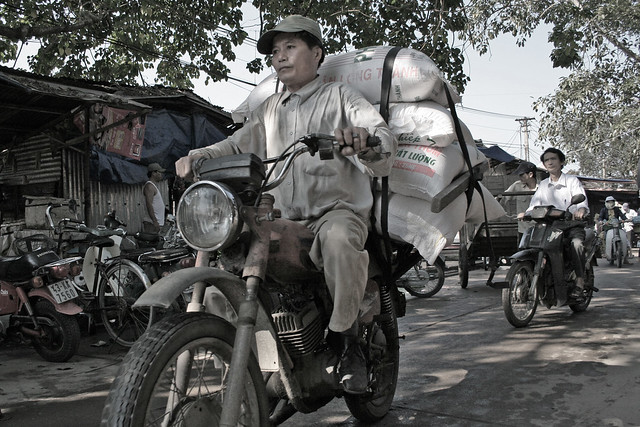
Include wide-angles, mid-shots and close-ups. A National Geographic photographer once gave this useful tip in taking photos that capture the sense of place. Too often photographers are comfortable with shooting in one style that all images during the trip look the same. You end up with too many wide-angle shots or people shots, so the slideshow fail to tell the complete story of the place. Learn to vary your images with wide-angle scenic shots, mid-shots of people and close-ups of their artifacts.
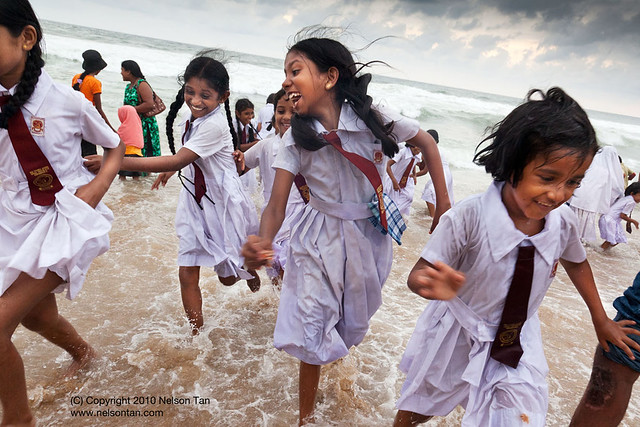
Capture the PLACE - People, Landscape, Activities, Culture and Environment. A slideshow that reflects only a couple of aspects of the place can be extremely tedious to watch. Make sure that you photograph the various components of PLACE to deliver a well-rounded presentation of your travel destination.
Don’t be shy in approaching people - you have greater “allowance” as a tourist. Most of the locals will be more open and tolerant of your photography because you are a tourist, so be nice to them and there is a high likelihood that you will be permitted to photograph them. But be sure to respect the culture! Some cultures do not take well to certain photography, so read up ahead before shooting.
If you are interested in learning more about the sense of place, I highly recommend reading “The spirit of place” by Bob Krist. It’s a wonderful book by the renowned travel photographer on capturing the gist of your travel destination in your photos.
Conclusion
Travel photography is fun, and you need not travel to exotic destinations to achieve great results. Keep your eyes open for various opportunity to photograph subjects, open your mouth to ask trusted locals (or even the hotel concierge) where to find the most photogenic subjects or spots, and keep your mind open to the following three criteria for the best travel photos:
- Convey the sense of place in your photos
- Offer a personalized point of view, not a postcard reproduction
- Ensure your images tell a coherent story as a set
Good luck and enjoy your trip!
Text and images are copyright property of Nelson Tan, and may not be reproduced in any form or format without prior written permission of the author.
(C) Copyright 2011 Nelson Tan
All rights reserved.